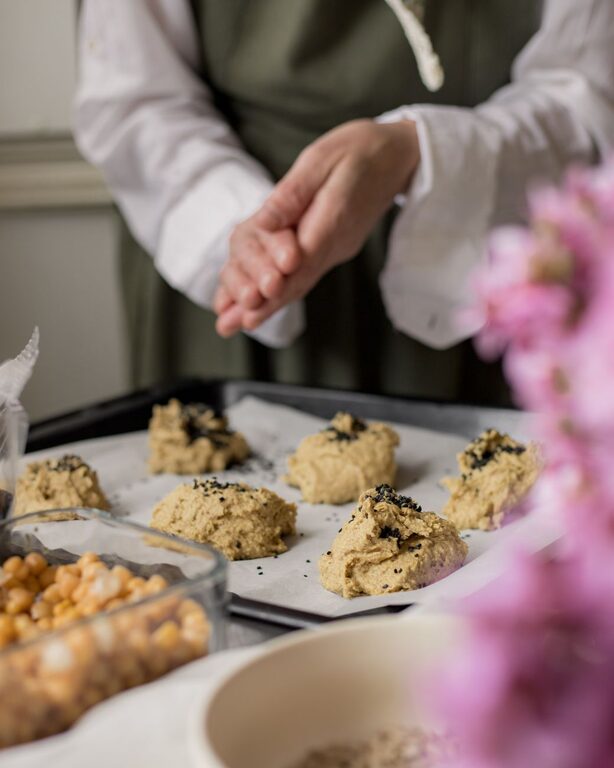
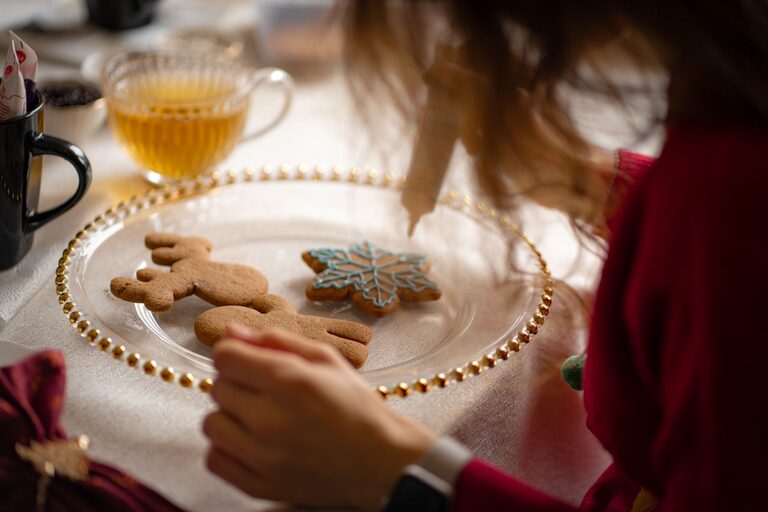
Decorative cookie making is a simple way to bring creativity to the kitchen. With a few basic tools, a reliable cookie recipe, and some imagination, you can make treats for birthdays, holidays, showers, classroom events, or quiet afternoons at home.
The process can be as simple or detailed as you like. You might add a few colorful sprinkles to round cookies, or spend an afternoon piping flowers, stars, and custom designs. Decorative cookies are also easy to personalize, making them ideal for gifts and special occasions.
Start With a Simple Plan
Before you begin, decide what the cookies are for and how much time you have. A small batch of two or three shapes may be perfect for a casual afternoon, while a celebration may call for several designs and coordinated colors.
Consider these questions:
– How many cookies do you need?
– Will they be served immediately or packaged as gifts?
– What shapes match the occasion?
– How much decorating time is available?
– Do you want a simple, colorful, or detailed finish?
Planning ahead helps you choose the right dough, tools, and decorations. It also prevents the decorating process from becoming rushed.
For a celebration, consider matching the cookie colors to the table settings, invitations, or seasonal theme. For gifts, think about the recipient’s favorite colors, hobbies, or interests.
Choose a Dough That Holds Its Shape
A sturdy sugar cookie dough is a popular choice for decorative cookies. It can be rolled, cut into many shapes, and baked with a smooth surface. Look for a recipe that produces cookies with crisp edges and a texture that is firm enough for decorating.
Keep the following tips in mind:
– Chill the dough before rolling it.
– Roll the dough to an even thickness.
– Use flour lightly to prevent sticking.
– Avoid overworking the dough.
– Chill cut cookies again if they become soft.
– Bake similar-sized cookies together.
Even thickness helps the cookies bake evenly. If some cookies are thin and others are thick, they may finish at different times. A rolling pin with thickness guides can be helpful, but two clean rulers placed beside the dough can also provide a simple guide.
Let the cookies cool completely before decorating. Warm cookies can soften icing and cause designs to slide or spread.
Gather Basic Decorating Supplies
You do not need a large collection of specialty equipment to get started. A few basic items are enough for many designs.
Useful supplies include:
– Piping bags or small food-safe plastic bags
– Small round decorating tips
– Toothpicks or small brushes
– Gel or liquid food coloring
– Measuring spoons
– Mixing bowls
– Parchment paper
– Sprinkles and sanding sugar
– Cooling racks
– Airtight containers
A small offset spatula can help spread icing smoothly, while a toothpick can guide icing into corners or pop small air bubbles. If you are decorating with children, choose larger, easy-to-handle tools and keep the designs simple.
Explore Three Easy Decorating Styles
Simple Sprinkle Cookies
For a quick design, brush the tops of cooled cookies with a thin layer of icing and add sprinkles while the icing is still wet. This method works well for stars, circles, hearts, and other basic shapes.
Try using one sprinkle color for a clean look or combine two or three colors for a cheerful finish. Sprinkles can also be arranged in small sections to create stripes, borders, or patterns.
Outline and Fill Designs
For a more polished appearance, use icing to outline the edge of each cookie. Allow the outline to set briefly, then fill the center with more icing. A toothpick can help spread the icing toward the edges.
This method is useful for simple shapes such as:
– Hearts
– Flowers
– Stars
– Balloons
– Leaves
– Letters
Keep the first designs uncomplicated. Once you are comfortable with outlines and filling, you can add dots, lines, or small details on top.
Textured and Layered Decorations
Texture adds interest without requiring advanced piping skills. While the icing is soft, add sanding sugar, chopped nuts, coconut, or tiny candy pieces. You can also create layered designs by allowing one color of icing to dry before adding another.
For example, decorate a flower-shaped cookie with a base color, then pipe a contrasting center and a few simple petals. Small details can make a basic cookie feel carefully designed.
Choose Colors Thoughtfully
A coordinated color palette can make a collection of cookies look more professional. Start with two or three colors that work well together. For a spring gathering, you might choose soft green, yellow, and pink. For a birthday, bright blue, orange, and white can create a lively theme.
To keep colors consistent, mix all of the icing colors before you begin decorating. Cover bowls with plastic wrap or airtight lids so the icing does not dry out while you work.
If you are decorating with children, invite them to choose the palette. Giving each person a small set of colors can make the activity feel organized while still encouraging creativity.
Make Decorating a Relaxing Afternoon Activity
Cookie decorating does not have to be a race to create perfect results. Set up a comfortable workspace with enough room for trays, icing, and decorations. Place parchment paper over the table for easier cleanup.
You can make the afternoon more enjoyable by:
– Preparing the dough in advance
– Setting out decorations in small bowls
– Playing music or an audiobook
– Decorating in small batches
– Taking photos of the finished designs
– Saving the best cookies for sharing
If children are involved, assign simple tasks such as adding sprinkles, choosing colors, or placing cookies on a tray. Designs may be uneven, but the finished cookies will have a personal character that makes them especially memorable.
Package Cookies as Thoughtful Gifts
Decorative cookies make cheerful gifts for neighbors, teachers, friends, hosts, and family members. Let the icing dry fully before packaging so designs remain neat.
Good packaging options include:
– Clear cellophane bags tied with ribbon
– Small bakery boxes
– Paper treat bags
– Reusable tins
– Cardboard gift boxes lined with parchment
Place parchment between layers if cookies have raised decorations. Add a small label with the baking date and a note about common ingredients when appropriate. For a personal touch, coordinate the ribbon or label with the cookie colors.
A mixed assortment often makes a lovely gift. Include several shapes and designs rather than making every cookie identical.
Plan Ahead for Celebrations
For larger events, divide the work across several days. Bake the cookies first, prepare the icing next, and decorate in stages. Many cookies can be stored in an airtight container once fully cooled and decorated.
Create a checklist that includes:
– Cookie shapes
– Quantity needed
– Icing colors
– Decorating supplies
– Packaging materials
– Serving trays
– Extra cookies for breakage or last-minute guests
Making a few extra cookies is helpful, especially when they will be displayed at a party or packed into individual gifts.
Enjoy the Creative Process
Decorative cookie making is a flexible activity that combines baking, design, and sharing. There is no single correct way to decorate a cookie. Neat lines and matching colors may appeal to some bakers, while bold patterns and playful combinations may suit others.
Begin with easy shapes and a small selection of decorations. As your confidence grows, experiment with layers, textures, and custom themes. Whether the cookies are prepared for a major celebration, wrapped as gifts, or enjoyed during a relaxed afternoon, the most important ingredient is the time spent creating something enjoyable.